Have you ever wanted to write a script, but you don’t know how or where to begin with it?

This post will take you through a vast amount of techniques, tips, and tricks for writing your next script.
Here is one of our videos that allows you to see how a great script and amazing visual details create an AWESOME video!
Post overview:
- Scripting Software
- “Must Have” Script Sections
- How To Add Pattern Interrupts
- Implementing Shot lists
- How To Finalize A Script
- Share With Friends/Family/Employees For Critique
- Final Touch-Ups
- Ready to Record
Table of Contents
Scripting Software
Scripting software is just a fancy way of talking about software that allows you to add text.
Think Microsoft Word, Google Docs, Adobe Acrobat, Etc. The best software is really up to you and your preference. I typically use Google Doc because it is easily shared with my coworkers for collaboration. Also, you can create a mass “Team File” so anyone can access anything at anytime without asking for the link!
On top of that, it imports directly into PromptSmart, the teleprompter software I’m currently using for my videos.
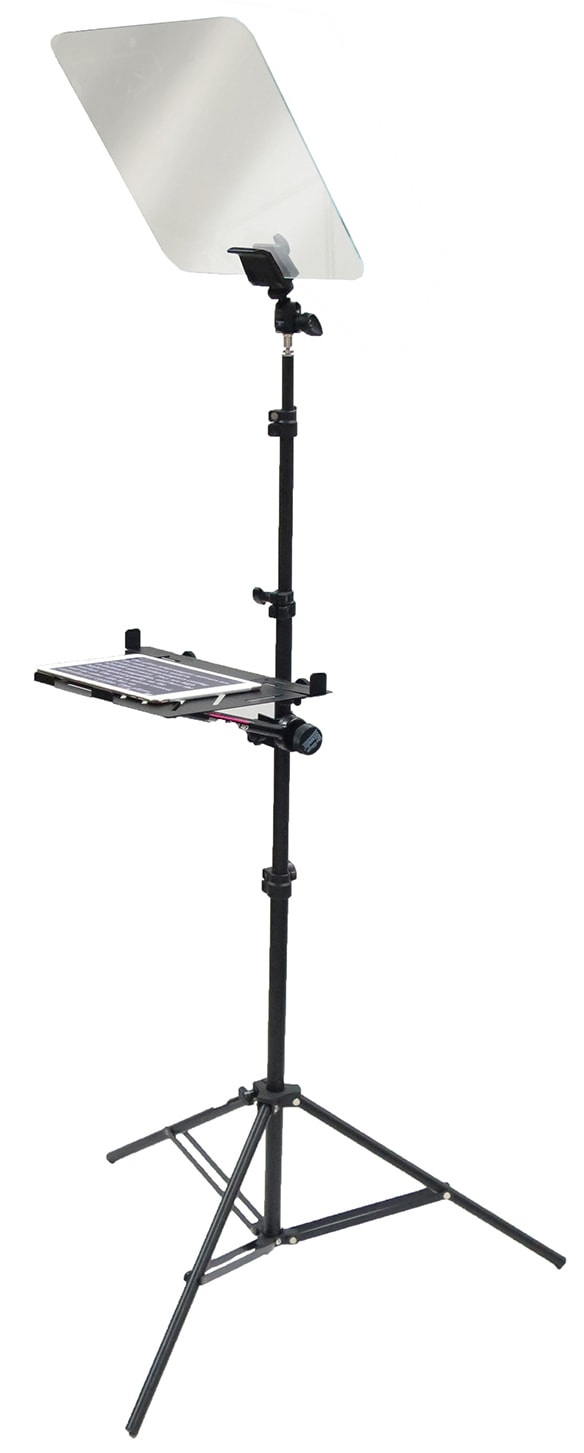
Below is the app we use on our iPad that connects directly with Google Docs, and works perfectly with our Presidential Teleprompter!

It’s a win-win!
Script Sections
- Title and Focus
- Intro
- Meat
- Conclusion
- Call-to-Actions
You are scripting because you have a video idea, right?
Everyone has ideas but who will actually put them into action? YOU!
Using my scripting process you can more easily focus on actually creating the video instead of just thinking about the details. Details are important, but you can always add those in later after you have the main outline of the script prepared.
You’ll be a YouTube celebrity in no time!
-
Title and Focus
I recommend on defining an epic title first, along with the focus of the video to keep you on track during the scripting process.

One of my favorite title ideas that I have used in the past is: Your Video Sucks! (2019) How to Master YouTube Videos Using a Teleprompter
It is easy to understand what the content will be about. It’s specific and catchy – making people want to click. I just love it!
I cannot tell you how many times I have created a script and then went back to think “What was this video supposed to get across to the viewer? What was the focus keyword?”
Without a title and focus, you may be wasting your time on a video that has no search volume or potential.
It’s a critical step that you don’t want to skip. This is because YouTube is a video search engine and you want to SEO Optimize your content as much as possible so your video can get to the right audience.
2. Introduction
An introduction is composed of three basic parts:
- Video intention
- short personal intro
- optional 5 second b-roll.
The most critical part of your video is what you say first. Similar to writing an essay, you want to catch the reader’s eye in the first sentence.
You want to tell the viewer exactly what they will see in the video. Do this before you even tell them who you are.
You have exactly 12 seconds before they hit the back button, make it count.
Once you make your statement of video intent, it’s okay to say hi!
In fact, I love watching videos that take a moment to say something like the following:
“By the way, I’m *name here* with *Your Company Here* ! Those of you that are subscribed, welcome back! If you’re new here, hit that subscribe button if you find this video helpful.”
It really adds a personal zing and I do feel compelled to subscribe.
The important thing is that you do not take TOO long to do this.
Again, you don’t want people to hit that back button because you take too long to get to the point.
At this point I usually jump to the Meat of the video.
However, sometimes videographers and YouTubers like to add a little b-roll which helps brand their channel. I recommend just taking 2-5 seconds to do this at most before going into the meat.
Here are a few of our videos that have a strong introduction which give an overview of the video that grabs the viewer’s attention, and has a friendly appeal.
Teleprompter Mastery Course (2019) Learn Pro Level Tips & Tricks and Avoid Painful Mistakes
Voice Training: Powerful Charisma Tips (2019)
iPad Teleprompter App Review – PromptSmart Pro (Voice Activated)
iPad Teleprompter App Review – PromptSmart Pro (Voice Activated)
3. Meat
The meat of the video is where the magic happens. You spill out all of the content here.
One major pro tip for creating the meat of the video:
-
- Use bullet points and put 1 sentence on each line.
- I find that this helps me to shorten my sentences for easier reading once I get to the video recording process.
- Use bullet points and put 1 sentence on each line.
Have you ever thought “That’s a mouthful?” when you read a line of your script while recording?
Make sure all of your information is clear and concise.
4. Conclusion
The conclusion of your video should have two parts.
- Part #1: Signal to the watcher that the video is over.
- This can be as simple as “Ok guys, that takes you through it!”
- Part #2 Is actually a call to action for people to hit that subscribe button so they don’t miss your next videos.
5. Call to Action
Speaking of call to actions, I recommend having a section at the bottom of your script with some different call to actions.
This can be nice to edit into the video at various points.
I like having options and I tend to sprinkle the call to actions throughout my videos to get people to interact by commenting, liking or subscribing.
Now that you know each section of a script, let’s talk about the writing process.
Writing Process
First Draft – Write it Out
In the initial draft I just write my ideas down to be refined later.
Don’t worry too much about grammar and mistakes at this point.
Second Draft – Refine the Script
When I go back for my second draft, I put on my critical thinking cap.
I think to myself: how can I most succinctly say this in the fewest number of words possible?
This is where I re-write my content to be more easily understood.
The Hemingway Editor (http://www.hemingwayapp.com/) is a great resource to help fix grammar mistakes and will make your script easy to read.
Just copy your script into Hemingway and it will highlight any errors.
Third Draft – Adding Pattern Interrupts
Now that the text flows nicely and is easily understood, it’s time to look at the meat of your script and find strategic places to add pattern interrupts.
Now that the text flows nicely and is easily understood, it’s time to look at the meat of your script and find strategic places to add pattern interrupts.
A pattern interrupt during the script writing process can be many things, like:
-
- Dancing, funny moments, jokes, story telling, changing camera angles, etc.
Dancing is fun and adds a lot of energy!
Humor usually catches people off guard.
Storytelling makes it personal.
Alternating camera angles is also a great way to keep people engaged.
Pattern interrupts keep the YouTube viewer interested for the entire video and will increase your watch time.
Here is an example of a pattern interrupt we used in a video recently:
Outdoor Teleprompter Tips: Choosing The Best Mirror (2019)
The use of a green screen to add a moving background created a pattern interrupt and entices you to keep watching.
In post-processing you can add other types of pattern interrupts with a green screen, or by adding music, titles, etc.
Often I highlight the pattern interrupts with yellow on the script at this stage because it can sometimes include an action instead of actual words.
Fourth Draft – Implementing a Shot List
Some videographers create a separate sheet with shots they want to record for their video that are separate from the main script.
I actually find it easier to add them directly into the script.
That way, when I do the original recording I can say “Ok, now we are adding that footage here”.
It helps me keep things chronological and easier to edit later.
Again, you can create a new format for this within the script by using a different highlighter color.
How To Finalize A Script
At this stage you have already checked for spelling mistakes and grammar. Made it easier to read.
Added in pattern interrupts and your shot list.
Now it’s time to take one final look: Is there anything else you can add?
I usually look at spots where I don’t have any highlighted parts. This is typically a signal that it will be a boring part of the video.
Add in your finishing touches now.
Get Critiqued
At this point I recommend sharing the script with a coworker or family member to get a second set of eyes on it.
They might have ideas for how to word things differently or add more humor. Or, they might read it and think it is super confusing.
You just never know!
It’s better to find out now before people start leaving comments on your video.
Final Touch Ups
Once you have shared the script you can make any additional touch ups to the script. From here it is ready to record!
Ready To Record
When I get ready to record it is important to export my script to a teleprompter.
I love using a Presidential Teleprompter to record because it is so versatile.


You can use it with iPads, laptops, tablets, anything you want.
From here you just have to get your camera and roll that teleprompter!
That takes you through my entire scripting process. Leave a comment below with anything I missed that you do to prepare for a video.


Leave A Comment
You must be logged in to post a comment.